How to Create and Update your Patient Portal Account
Why have I received an email from Sadio?
You have received this email because you provided your email address to your
dermatologist’s office and they would like to verify that the email is correct and
invite you to fill out your medical information online prior to your visit.
What do I do once I receive an email to sign up for Sadio?
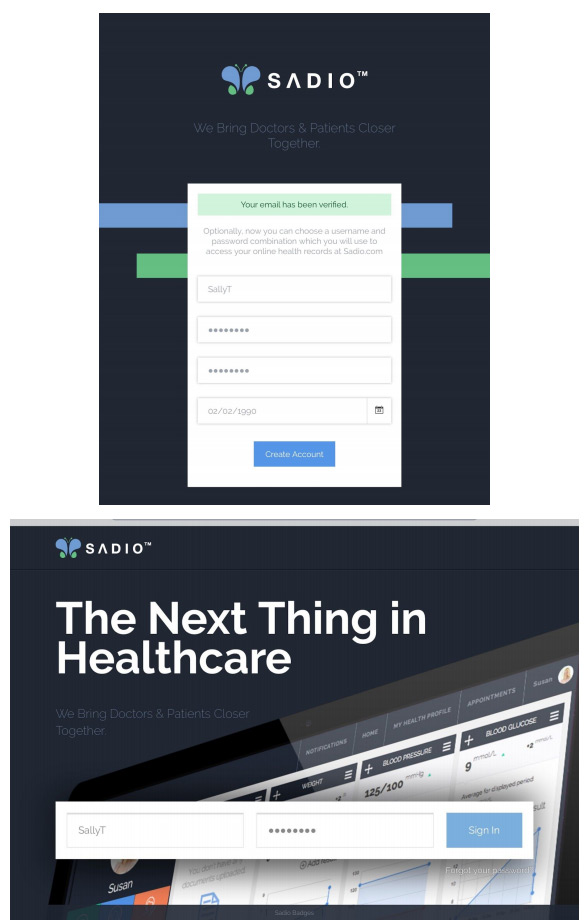
- If an email address was provided to your dermatologist’s office, you will receive an email from noreply@ezderm.com that contains a link to verify your email and create an account on Sadio, the patient portal. Once the link has been opened, the email address will be verified.

- The system will prompt you to create a username, password, and enter your date of birth. Please note that the date of birth must be entered in this specific format: DD/MM/YYYY (including backslashes). The system will then ask you to login using the username and password you created. (See photos below) NOTE: In the event you forget your password, please click “Forgot your Password?” and enter your username. If you do not remember your username, reach out to the doctor’s office and they can provide it to you.
- Once you have logged into your Sadio account, you will be prompted to answer questions regarding the following:
– Basic Information
– Allergies
– Medications
– Past Medical History
– Family History
– Surgical History
– Social History
After all sections have been answered, you will be brought back to the main screen. You can view any documents that are shared with you from your doctor’s office under “Documents,” as well as enter any other pertinent information from this screen (weight, blood pressure, blood glucose, temperature, and body mass index). You will also want to check if you have any consents that need to be signed prior to your visit. You can locate these by clicking on the “Appointments” tab.
- Once you have entered the Appointments tab, you will be able to view your doctor’s information and location, the date and time of your appointments, counseling information your doctor has provided you, and also your unsigned consents.

5) Signing Consents – By clicking on the blue text under the unsigned consents, you will be brought to a screen to review that specific consent. To sign the consent, just tap on the screen where you see the pen and then sign your name. When completed, hit Save, and then the consent will be removed from the unsigned list.